Adding a new raised bed to an existing drip system is a one-fitting job in most setups. The mainline is already there, the pressure is already dialed in, and the far end of the line is almost certainly sealed with something removable. The process comes down to opening that endpoint, inserting a barbed tee, and running a short riser to the new bed. The one step most gardeners skip (checking pressure across all beds after connecting the new one) is also the one that catches problems before they turn into dry corners mid-season.
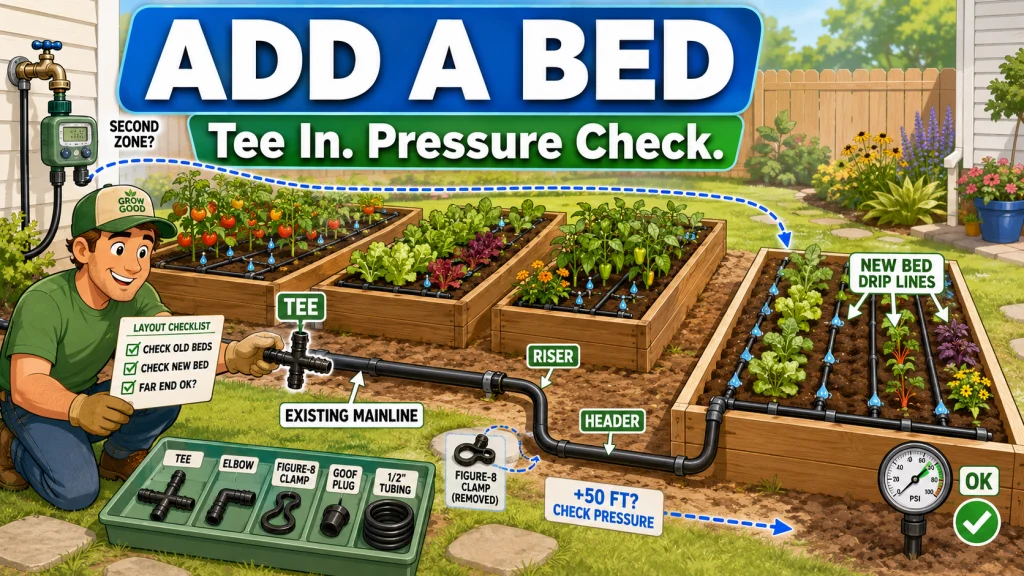
Adding Beds to an Existing Drip Irrigation System Without Rebuilding
The first season usually starts with a kit for one or two beds. The timer finds its rhythm, the vegetables do well, and by the time the next growing season rolls around the garden has outgrown its original footprint. When a gardener starts searching about adding beds to an existing drip irrigation system, they already understand how the base setup works. What they need is the specific procedure to extend it without dismantling anything that is already running correctly.
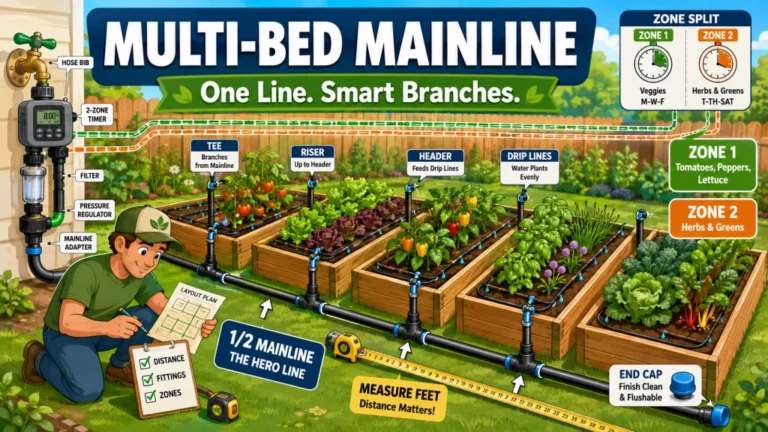
Most residential drip systems are built for exactly this kind of expansion. A properly finished mainline ends with a removable plug or clamp at the far end, not a hard-crimped permanent cap. That endpoint is the expansion connection. Converting it to a branch takes about ten minutes. The steps below cover the full process: reading the existing endpoint, checking pressure before adding load, making the mainline cut, routing the line into the new bed, and recognizing when a longer extension should become a separate zone instead.
If you want a broader look at how the base system fits together before expanding it, the raised bed drip irrigation setup overview covers the full component relationship from hose bib to emitter.
Step 1: Assess the Existing Mainline Endpoint
Before cutting anything, walk to the far end of the existing mainline and look at how it is sealed. The two most common options are a figure-8 clamp and a goof plug. A figure-8 clamp folds the tubing back on itself and holds it shut with a plastic clip. A goof plug is a small barbed cap pressed directly into the open end of the tubing. Either one is easy to remove: the figure-8 clamp unclips and straightens out, and the goof plug pulls free with steady pressure, sometimes with a small flathead to lever it loose.
If the mainline ends with a permanent barbed end cap rather than a removable plug or clamp, that cap needs to come out and be replaced with a tee. This is less common in standard raised bed drip kits, but it does happen when a system was modified from an in-ground irrigation setup or extended by a previous owner. In that case, the cut goes right at the fitting and a barbed tee seats in its place.
Field Note: The most common mistake I see at this stage is confusing the mainline endpoint with a mid-line figure-8 repair clamp. Some gardeners use figure-8 clamps to bypass a leaking section in the middle of the run. If the clamp you find is sitting in the middle of the bed layout rather than at the true end of the line, keep walking. The expansion point is at the last sealed terminus, not a repair patch somewhere in the middle.
Step 2: Verify Remaining Pressure Capacity Before You Cut
This is the step that gets skipped most often, and it is also the one that matters most. Before opening the mainline, run the existing system through a full cycle and walk each bed while it is running. Press your finger into the soil above a few emitter positions. If coverage looks even across all current beds, there is room to add load. If some beds already show dry patches or low-output emitters at the far end of the run, that is a pressure problem, and adding another bed downstream will make it worse.
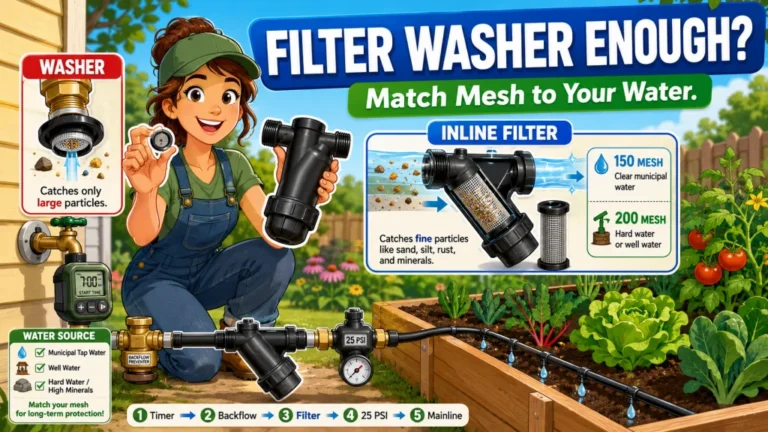
Residential hose bibs typically run between 40 and 80 PSI at the source. Most raised bed drip kits are designed to operate after a pressure regulator that steps that down to around 20 to 30 PSI. The issue with expansion is not the source pressure but the total mainline run length. Every additional foot of tubing and every active emitter draws pressure down slightly. A system already running near the lower end of its regulated range has less headroom to absorb a longer run to a new bed.
- Run a full timer cycle before cutting anything.
- Check soil moisture in the farthest existing bed from the hose bib, not just the closest one.
- Look for uneven emitter output: a dripping emitter where others are dripping consistently is normal; a completely dry emitter at the end of a run is a pressure signal.
- If coverage is already uneven before the new bed is connected, fix the existing pressure issue first rather than extending the load.
If everything checks out, proceed to the cut. If pressure is already marginal, the section below on adding a second zone covers the right solution before you commit to a longer mainline run.
Step 3: Cut the Mainline and Insert the Barbed Tee
Once the expansion point is confirmed and the pressure check passes, the cut itself is straightforward. Use irrigation scissors or a sharp utility knife. The cut needs to be clean and square, not angled or pinched. A diagonal cut or a crushed edge from dull shears will prevent the barbed tee from seating fully. A partial seal is worse than no seal because it leaks slowly and is hard to spot from a distance.
Push the barbed tee into both sides of the cut tubing with firm, even pressure. The barbs should seat fully below the tubing interior. If the fitting stops moving before it is fully seated, do not force it sideways. Pull it back, check the tubing end for any folding or pinching, trim a clean slice if needed, and re-seat. When the tee is fully in on both sides, the third port faces the direction of the new bed and becomes the start of the riser.
Note: If the gap left by removing the goof plug or figure-8 clamp is too short for both tee barbs to grip properly, cut a small bridge section from spare mainline tubing and insert it between the existing mainline end and one side of the tee. This gives each barb enough tubing length to seal correctly.

A 25-piece pack of 17 mm barbed tee fittings for standard 1/2-inch drip irrigation tubing, designed to split irrigation lines securely in garden beds, greenhouses, landscaping, and other watering systems.
Check On AmazonIf you click this link and buy, we earn a commission at no additional cost to you.
Step 4: Route the Riser and Header Into the New Bed
The branch port of the tee is now the starting point for the new bed’s water supply. A section of 1/2-inch mainline tubing runs from that port toward the new bed. If the new bed sits directly beside or behind the existing last bed, this riser may only need a few feet. If there is a larger gap between the old system endpoint and the new bed position, measure and cut tubing to close that gap before adding an elbow at the bed’s entry corner.
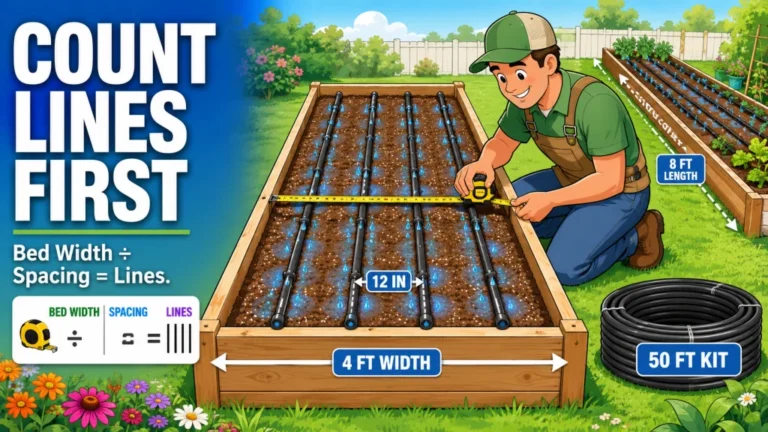
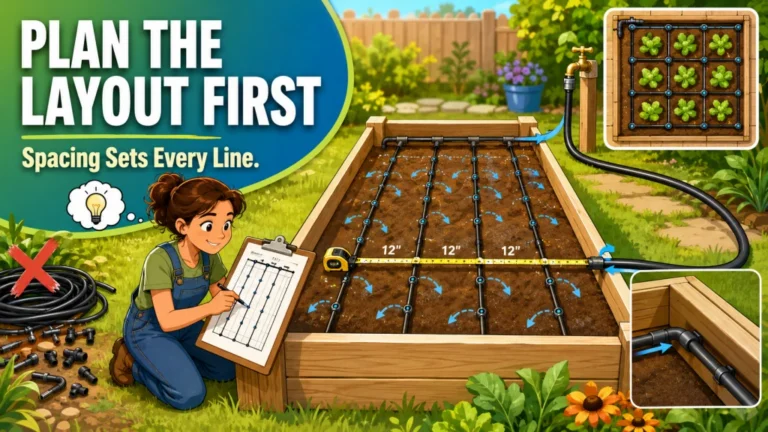
Inside the new bed, the setup follows the same logic as the original installation: a barbed elbow at the entry corner, a header running along the short end of the bed, and drip lines extending the length of the bed from the header. For a 4-foot-wide bed with mixed vegetables, two parallel drip lines spaced around 18 inches apart usually give consistent coverage. For a densely planted bed of lettuce or spinach with shallow root zones, three lines at 12-inch spacing work better. The full internal layout process is covered in the how to connect drip irrigation to raised beds walkthrough if you need it.
Seal the far end of the new bed’s last drip line with a figure-8 clamp or goof plug. This keeps the new endpoint removable for a future expansion and avoids the same situation that required cutting a permanent cap out of the last run.

This 100-foot roll of quarter-inch dripline comes with half-gallon-per-hour emitters pre-installed every 6 inches, eliminating the need to purchase or install separate drippers. The tight emitter spacing makes it well suited for row crops, raised beds, and container gardens, with a maximum recommended run length of 19 feet per line. More durable than drip tape or soaker hose, it can even be buried for subsurface use. The kit includes 5 barbed quarter-inch couplings and 10 goof plugs to get you started.
Check On AmazonIf you click this link and buy, we earn a commission at no additional cost to you.
Fittings and Tubing You Need for This Job
The parts list for adding one raised bed to an existing system is short. If there is leftover tubing from the original install, the only new purchase might be the tee and elbow. Either way, confirming what you have before cutting the mainline saves an extra trip.
| Component | What it does | Where it goes |
|---|---|---|
| Barbed tee (1/2-inch) | Splits the mainline to create a branch | At the expansion cut point in the existing mainline |
| Barbed elbow (1/2-inch) | Redirects the riser into the new bed | At the entry corner of the new bed |
| 1/2-inch mainline tubing | Carries water from the tee branch to the new bed | Riser between the existing endpoint and the new bed |
| Drip line or emitter tubing | Delivers water to the root zone | Runs lengthwise inside the new bed from the header |
| Figure-8 clamp or goof plug | Seals the far end of the new drip line | At the last open end of the new bed’s drip run |
If you are adding two beds at once, the tee still goes in the mainline at the original expansion point. A short mainline section runs to the first new bed, passes through it along the header or outside edge, and continues to the second. Alternatively, a second tee in the riser between the two beds lets each one branch off independently. Either approach works; the serial layout is simpler when the beds are in a straight row.

This kit includes 10 tees, 10 couplings, 10 elbows, and 10 end cap plugs compatible with most half-inch drip irrigation tubing with an inner diameter of approximately 0.520 inches. All fittings push in without glue, tools, or clamps, and are made from UV-resistant, high-impact plastic for long-term outdoor durability.
Check On AmazonIf you click this link and buy, we earn a commission at no additional cost to you.
When to Add a Second Zone Instead of Extending the Mainline
Extending the mainline is the right move when the existing system has pressure to spare and the new bed is close enough that the riser run stays short. There is a point, though, where a longer mainline extension stops being an expansion and starts creating a pressure problem for every bed on the line.
If the new bed requires adding more than 50 feet of mainline to reach it, run the full system after connecting and check the soil moisture in the farthest existing bed before calling the job done. If it comes up noticeably drier than the beds closer to the hose bib, the run has exceeded what the current pressure setup can support evenly.
The fix in that situation is a 2-outlet timer. A two-outlet timer allows two separate mainlines to run from the same hose bib, each with its own pressure regulator and filter. The original beds stay on one outlet, the new beds get their own line, and each zone runs at the right pressure without borrowing from the other. This is not a rebuild; it is a split at the hose bib that keeps both sides of the garden performing correctly. For a closer look at how multiple beds work across separate zones, the overview of drip irrigation for multiple raised beds covers the zone-splitting approach in detail.

This battery-powered hose timer converts any standard faucet into a two-outlet automatic watering system with programmable schedules and adjustable watering durations. The clear LCD display makes programming straightforward, and a built-in rain delay feature pauses irrigation automatically during wet weather. Designed for outdoor durability and water-resistant construction, it backs its reliability with a six-year limited warranty.
Check On AmazonIf you click this link and buy, we earn a commission at no additional cost to you.
Final Thoughts: The Pressure Check Earns Its Keep
The expansion itself usually takes under 30 minutes. Cut the mainline, seat the tee, run the riser, connect the header, seal the far end. The part that takes longer is the first full-cycle pressure check after everything is connected, and it is worth running it carefully rather than assuming the new bed is performing the same as the others.
Walk every bed during the first run with the new connection active, not just the new one. If coverage is consistent across all beds, the job is done. If the far beds look drier than they did before, either shorten the mainline run or split the zone at the timer. Catching that early costs ten minutes. Tracking down a dry-spot problem three weeks into tomato season costs considerably more than that.

This drip tubing works like a soaker hose but without the clogging or maintenance, thanks to pressure-compensating emitters that water evenly from one end of the line to the other. Built-in 0.8 gallon per hour emitters are spaced 12 inches apart with dual outlets positioned 180 degrees apart for even coverage. The tubing measures 0.25 inches outside diameter and connects with 1/4 inch barbed fittings, operating across a wide pressure range of 8.5 to 60 psi. Its micro-porous construction creates a tight, reliable connection that holds up over time.
Check On AmazonIf you click this link and buy, we earn a commission at no additional cost to you.
FAQs
🔧 How do I add a raised bed to an existing drip irrigation system?
Find the sealed end of your existing mainline (usually a figure-8 clamp or goof plug), remove it, cut the tubing clean and square, and insert a barbed tee. The branch port of the tee becomes the starting point for a riser to the new bed. Run a header inside the new bed, connect drip lines, and seal the far end of the last line.
💧 Will adding another raised bed reduce water pressure to existing beds?
It can, depending on how long the total mainline run becomes and how much pressure headroom the system had to begin with. Run the system for a full cycle after connecting the new bed and check soil moisture in the farthest existing bed. If it comes up noticeably drier than before, the run is too long for the available pressure and a second zone is the right fix.
🪛 What fittings do I need to expand a drip irrigation mainline to a new bed?
You need a barbed tee in the same diameter as your mainline (1/2-inch in most raised bed kits), a barbed elbow for the entry corner of the new bed, enough mainline tubing to bridge the gap between the existing endpoint and the new bed, and a figure-8 clamp or goof plug to seal the new far end.
📏 How far can I extend a drip irrigation mainline before pressure starts to drop?
There is no fixed distance because source pressure, regulator rating, emitter count, and emitter flow rate all affect it. In practice, I recommend checking soil moisture in the farthest bed after any extension that adds more than 50 feet of mainline. That is where pressure loss tends to start showing up as dry spots at the end of the run.
⏱️ Do I need to adjust my timer run time after adding a new bed?
Usually not, if pressure is consistent across all beds after the expansion. The run time that was working before should still deliver the right amount per emitter per cycle. The exception is when the new bed has a different crop or soil mix that needs a different schedule, in which case a second timer outlet lets each zone run independently.
🌱 Can I expand a drip system that was originally installed from a kit?
Yes. Most raised bed drip kits use standard 1/2-inch mainline and 1/4-inch drip line, and barbed fittings for those sizes are widely available. The expansion process is the same regardless of which kit was used originally: find the sealed mainline end, cut it, insert a tee, and route a riser to the new bed.