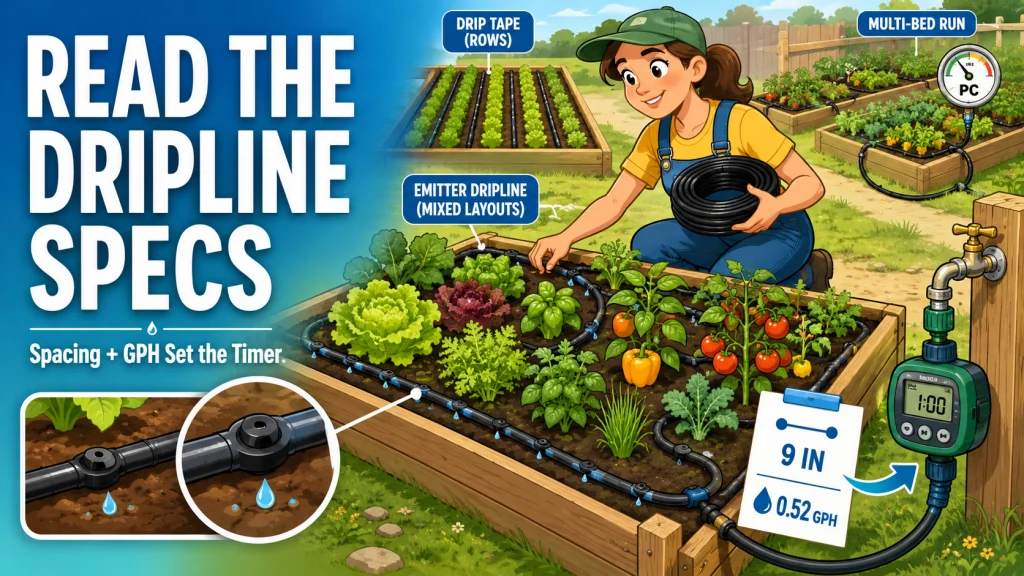
Emitter dripline is the component most raised bed drip irrigation kits are built around, and once you understand why, reading any kit spec sheet gets easier. It is round polyethylene tubing with pre-installed inline emitters that release a calibrated flow rate at fixed spacing intervals. Unlike drip tape, it routes around corners, handles mixed plantings, and holds up across multiple seasons without requiring replacement on a predictable annual cycle. This article covers what emitter dripline is, the two specifications that determine how it performs in your raised bed, the difference between pressure-compensating and standard emitters, and how to use those numbers to set your timer correctly.
Why Most Raised Bed Drip Kits Default to Emitter Dripline
Browse raised bed drip kits at any hardware store or garden supply site and the pattern becomes obvious: most of them include 1/4-inch emitter dripline as the primary watering element. That is not coincidence or cost-cutting. Emitter dripline hits a combination of qualities that suits the way home gardeners actually use raised beds, which is rarely as clean or consistent as a commercial row crop field.
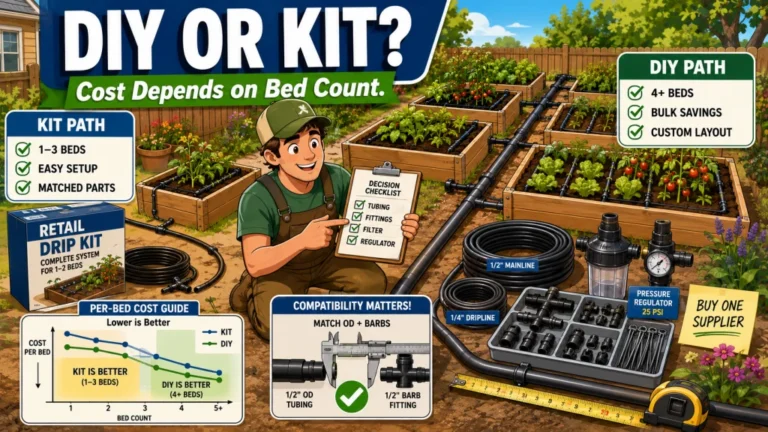
Drip tape is cheaper per foot but is designed for straight row layouts and carries a shorter useful lifespan in most home settings. Soaker hose is easy to find and simple to install, but it does not release water from fixed, measurable emitter points, so it gives you less control over exact watering output and placement. Emitter dripline sits between those two options: more durable than drip tape, more precise than soaker hose, and flexible enough to route around the corners and irregular planting patterns that most raised beds have. Kit manufacturers default to it because it works in a wider range of garden layouts than either alternative, which makes it the lower-risk choice when a product has to perform for a broad range of buyers.
What Emitter Dripline Actually Is
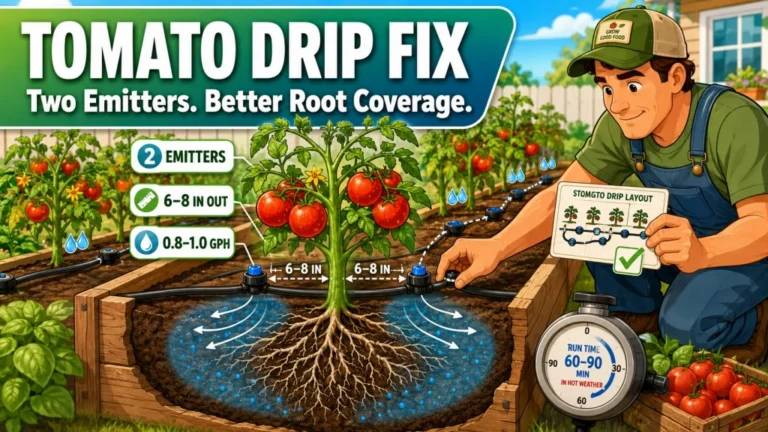
Emitter dripline is round, thick-walled polyethylene tubing, typically 1/4 inch in diameter, with emitters pre-installed at fixed intervals along its length. The most common spacing options are 6, 9, and 12 inches. Each emitter releases a calibrated amount of water, usually between 0.5 and 1.0 GPH depending on the product, through a small internal disc or labyrinth channel that regulates the flow at the emitter level rather than relying entirely on inlet pressure.
The tubing is flexible enough to bend around bed corners without kinking, which is the practical difference that makes it work in non-row layouts. You can route it along the inside perimeter of a raised bed, snake it between plants in a mixed planting, or run it straight across a row planting. In all of those configurations, the emitters deliver predictable flow wherever they land, assuming the system is kept within the product’s operating pressure range. The thicker wall also resists UV degradation and physical punctures better than drip tape, which is why quality emitter dripline is typically rated for five or more seasons with basic maintenance rather than the one-to-four season expectation for drip tape.
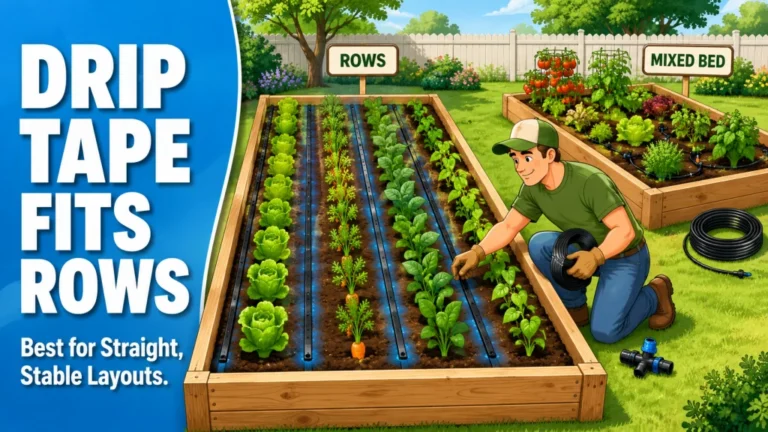
One distinction worth understanding early: drip tape lies flat when empty and inflates under pressure; emitter dripline stays round under all conditions. That round form makes it compatible with the standard barbed fittings used throughout most residential drip systems, easier to work with during installation, and simpler to reroute between seasons. If you are working through the decision between these two components for your beds, the article on drip tape for raised beds covers that comparison in detail.
The Two Specs That Determine How Long to Run the System
When evaluating any emitter dripline product or kit, two numbers on the spec sheet determine everything about run time: emitter spacing and flow rate per emitter. Other specs, including pressure range, tubing diameter, and fitting type, affect whether the system works correctly. These two numbers determine how much water actually reaches the bed per hour.
Here is the math with a concrete example. A 10-foot line of dripline with 9-inch emitter spacing carries approximately 13 emitters. At a documented flow rate of 0.52 GPH per emitter at 15 PSI, that line delivers roughly 6.7 gallons per hour. Put four of those lines across a 4×8 bed and the system is delivering about 27 gallons per hour to that bed at full run. A different product with 12-inch spacing at 0.8 GPH per emitter on the same 10-foot line carries about 10 emitters and delivers 8.0 GPH per line. Same bed width, same line length, very different hourly flow. Both of those are real spec sheet numbers. The timer setting that works for one will either underwater or overwater the other.
| Emitter Spacing | Emitters per 10-ft Line | Flow at 0.52 GPH/emitter | Flow at 0.8 GPH/emitter |
|---|---|---|---|
| 6-inch | ~20 | ~10.4 GPH | ~16.0 GPH |
| 9-inch | ~13 | ~6.7 GPH | ~10.4 GPH |
| 12-inch | ~10 | ~5.2 GPH | ~8.0 GPH |
That table is not about recommending a specific spacing. It is about showing why spacing and flow rate together determine run time in a way that neither number can tell you alone. A 6-inch spacing at 0.52 GPH delivers double the hourly water of a 12-inch spacing at the same flow rate. If your timer is set based on a generic recommendation rather than the actual product spec, the bed is either consistently wet or consistently dry, and neither the emitters nor the timer are the problem.
Key point: Before setting your timer, find the emitter flow rate in GPH and the emitter spacing on the spec sheet of the dripline you bought. Multiply the flow rate by the number of emitters on each run to get the actual GPH per line. That number is what your timer setting needs to be based on, not a generic “run 20 minutes” recommendation that does not account for the specific product in your bed.
Pressure-Compensating vs Standard Emitters: The Practical Difference
Emitter dripline comes in two types: pressure-compensating (PC) and standard non-compensating. The spec sheet usually labels them clearly, but the difference between them is often described in terms that do not explain what it actually means for a raised bed setup. Here is the version that matters for deciding which one to buy.
A standard emitter releases more water when inlet pressure is higher and less when pressure drops. On a short line in a single raised bed, that variation is usually minor because the pressure loss across a 10 or 15-foot run is small. In a longer distribution setup, or when one line is higher than another, the emitters at the far end or at higher elevation deliver noticeably less water than the ones nearest the mainline connection. The setup looks functional at first. The problem usually shows up only after a few weeks, when dry patches appear at the far end of the line.
A pressure-compensating emitter maintains consistent output across a wider pressure range, typically between about 7 and 45 PSI. Within that range, the first emitter and the last emitter on the same line deliver the same flow rate regardless of line length or minor elevation changes. For a standard 4×8 bed with a single inlet and short runs under 15 feet, the PC advantage is minimal. For a setup with multiple beds in series on one mainline, longer runs, or any slope between the water source and the beds, PC emitters eliminate the flow variation problem before it starts.
A five-bed setup running in series off one mainline with standard non-compensating emitter dripline. The beds near the water source receive consistent flow; the last two beds in the chain receive less. The gardener adjusts the timer rather than diagnosing the cause, and the beds nearest the inlet get overwatered as a result.
The same five-bed setup with pressure-compensating emitter dripline. Flow rate stays consistent from the first bed to the last regardless of pressure drop along the mainline. Timer settings work for the whole system, not just the beds nearest the connection point.
Field Note: I check the far end of the line during the first run on any new drip setup. On a single 4×8 bed with a short line, the difference between the first and last emitter is usually too small to matter. Where I have seen it cause real problems is when someone runs a mainline across four or five beds in series and uses standard non-compensating dripline throughout. The last bed in the chain gets meaningfully less water than the first, and the usual response is to run the system longer, which overwaters the beds closest to the source. PC emitters on longer distribution runs prevent that problem at the component level.

This drip tubing works like a soaker hose but without the clogging or maintenance, thanks to pressure-compensating emitters that water evenly from one end of the line to the other. Built-in 0.8 gallon per hour emitters are spaced 12 inches apart with dual outlets positioned 180 degrees apart for even coverage. The tubing measures 0.25 inches outside diameter and connects with 1/4 inch barbed fittings, operating across a wide pressure range of 8.5 to 60 psi. Its micro-porous construction creates a tight, reliable connection that holds up over time.
Check On AmazonIf you click this link and buy, we earn a commission at no additional cost to you.
How Long Emitter Dripline Lasts and What Shortens It
Quality emitter dripline from established irrigation manufacturers is typically rated for five or more seasons in residential use with basic maintenance: a filter upstream to prevent emitter clogging, an end-of-season flush, and mulch covering the line during the growing season to reduce UV exposure. That rating reflects the product design intent and the experience of gardeners who run these systems correctly over multiple years.
Budget unbranded emitter dripline is a different calculation. The price per foot may look competitive, but the wall compound matters more than the wall thickness in determining lifespan. UV inhibitors built into the polyethylene formulation prevent the tubing from becoming brittle under direct sun exposure. Established irrigation brands often advertise UV-resistant materials or UV protection as a selling point. Many unbranded products do not include them at the same concentration, and without mulch covering the line, an unbranded emitter dripline can start cracking or losing emitter integrity after a single season in high UV conditions.
The practical takeaway is not about brand loyalty. It is that mulch coverage extends the life of any emitter dripline significantly, and the cost of replacing a degraded line after two seasons usually exceeds the savings on a cheaper product. For a raised bed drip setup expected to run across five or more growing seasons, the tubing quality is worth checking before the first install rather than learning the hard way in year two.
What to Check on the Package Before You Buy
Most emitter dripline packaging carries all the information you need to make a good decision. The problem is knowing which numbers actually matter and which ones are just marketing copy. These six items are worth checking before buying any emitter dripline or kit that includes it.
- Emitter spacing: 6, 9, or 12 inches. This determines how many emitters are on each run and how the water is distributed across the bed. Match it to your planting density, not to the smallest number available.
- Flow rate per emitter (GPH): listed at a specific PSI. This is the number you multiply by the emitter count to get total flow per line per hour. A 0.5 GPH and a 1.0 GPH product on the same 10-foot line deliver very different hourly volumes, which means very different timer settings.
- Operating pressure range: the PSI range within which the product performs as rated. Running emitter dripline outside this range changes the actual flow rate; excessive pressure can also shorten emitter life or stress fittings. Check that the range matches what a pressure regulator at your hose bib will deliver.
- Pressure-compensating or standard: usually marked as PC or non-compensating on the packaging. Relevant if you have multiple beds in series, longer runs, or any slope. Not critical for a single short-run bed.
- Total line length included vs. bed runs needed: some kits include 50 feet of dripline; others include 100 feet or more. Calculate how many runs you need across each bed and whether the kit covers that length before buying, not after opening the box.
- Filter requirement: emitter dripline needs a filter upstream to prevent clogging. Check whether the kit includes one and what mesh size it uses. Many residential emitter dripline kits use a 150-mesh filter as a common baseline, but the product instructions should be the final guide.
None of these are difficult to find on a spec sheet or product listing. Spending two minutes on them before buying is the difference between a system that runs correctly from the first session and one that takes three weeks of timer adjustments to dial in.

This combination unit pairs a 200 mesh, 75 micron stainless steel filter with a 30 PSI pressure regulator in a single piece, reducing the number of parts needed and speeding up installation. It protects downstream drip components from clogging and works with all types and brands of 3/4 inch irrigation valves. The cap unthreads easily for quick cleaning, and the glass-filled polypropylene body and 3/4 inch male pipe threads are rated for 150 psi, ensuring long-lasting, reliable performance.
Check On AmazonIf you click this link and buy, we earn a commission at no additional cost to you.
When Emitter Dripline Is the Right Choice
Emitter dripline fits most raised bed setups better than the alternatives, but that fit is strongest in specific conditions. It earns its place when the layout is mixed, the crops change between seasons, the bed shape involves corner routing that drip tape cannot handle, or the priority is a system that runs reliably for multiple years without annual replacement.
Square foot gardening layouts with varied crops across one bed are exactly what emitter dripline handles well. Beds that get replanted in significantly different configurations between spring and fall benefit from a line that can be repositioned rather than replaced. Multi-bed setups on a shared mainline with a hose-end timer benefit from the consistent flow delivery that well-chosen dripline provides, especially with PC emitters on longer runs.
- Mixed crop layouts: routes around what the bed actually contains rather than requiring a straight-row planting arrangement.
- Seasonally rotated beds: the line can be repositioned between plantings; drip tape cannot be rerouted without replacement.
- Multi-bed systems: consistent emitter flow across a shared mainline, especially with PC emitters on longer distribution runs.
- Long-term setups: five or more seasons with basic maintenance versus one to four seasons for drip tape in the same home garden conditions.
- Non-row planting patterns: any bed where crops are not arranged in parallel rows eliminates drip tape as a practical option and makes emitter dripline the default.
If your beds are planted in consistent straight rows and you are comfortable with periodic tape replacement, drip tape may still cost less per foot and do the job adequately. For most other raised bed configurations, emitter dripline is the more practical and durable choice. The article on drip tape vs soaker hose for raised beds covers the side-by-side decision if you are still weighing those alternatives before committing to a component.

This kit includes everything needed to water a raised bed up to 4 by 8 feet, with professional-grade components built for repeated seasonal use. It features 35 feet of emitter tubing with 70 built-in, pressure-compensating emitters spaced every 6 inches for even watering near the roots, plus 25 feet of easy-to-handle 1/4 inch distribution tubing. This low-volume design can save up to 80% on water while supporting healthier plants and better yields. Installation is straightforward thanks to an illustrated manual covering multiple layout options, and the system can be automated with a compatible Rain Bird hose-end timer sold separately.
Check On AmazonIf you click this link and buy, we earn a commission at no additional cost to you.
Final Thoughts: Get the Spec Sheet Before You Set the Timer
Emitter dripline works well in raised beds because it is flexible, durable, and precise enough to be calibrated for the actual water needs of the bed. The flexibility and durability only matter, though, if the spec sheet numbers match the setup. Emitter spacing and flow rate per emitter are what determine whether a kit actually waters the beds correctly, and those numbers vary enough between products that guessing at timer settings is not a plan that holds up across a season.
Pull the emitter spacing and GPH rating off the spec sheet before buying any dripline or kit. Do the flow math for your line length. Choose between PC and standard emitters based on your distribution length and whether any elevation difference exists between the water source and the beds. Keep the line under mulch during the growing season. Those steps are what separate a drip system that runs correctly for five seasons from one that gets adjusted every week and replaced every two years. For a broader look at how all the raised bed drip irrigation options compare, the best raised bed drip irrigation kit overview covers the full range and how to match a complete kit to your specific setup.

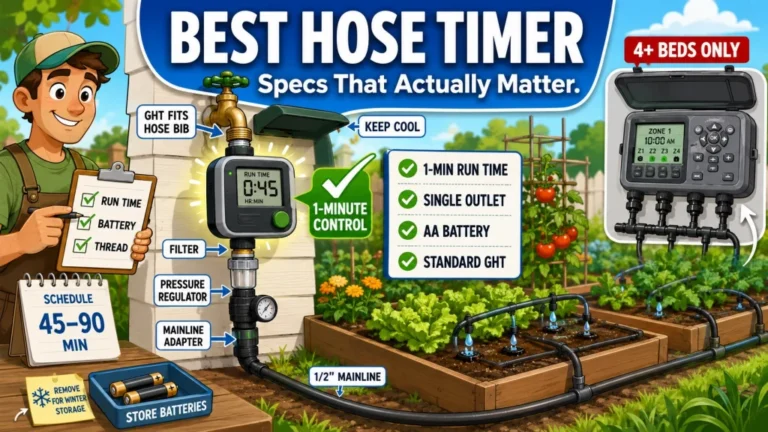
This robust hose-end timer works with sprinklers, drip irrigation, and soaker hoses, offering simple automatic programming with full 7 day scheduling for worry-free watering. An extra-large dial and readout screen make setup and schedule review easy, while one-touch buttons allow quick cancellation, a rain delay of up to 96 hours, or manual watering on demand. The display also shows the next scheduled cycle and time remaining on the current one.
Check On AmazonIf you click this link and buy, we earn a commission at no additional cost to you.
FAQs
💧 What is drip emitter line and how does it work in a raised bed?
Emitter dripline is round polyethylene tubing with pre-installed inline emitters at fixed spacing intervals, typically 6, 9, or 12 inches. Each emitter releases a calibrated flow rate, usually 0.5 to 1.0 GPH. In a raised bed, the line routes from a mainline connection along or through the bed and delivers water directly to the root zone at each emitter position. The flow is controlled at the emitter level rather than relying on the inlet pressure alone.
🌱 Why do most raised bed drip kits use 1/4-inch emitter dripline?
Because 1/4-inch emitter dripline works across a wide range of raised bed layouts without requiring a straight-row planting arrangement. It bends around corners, handles mixed crops, lasts multiple seasons, and delivers consistent flow at each emitter. Those qualities make it more reliable than drip tape for the varied layouts most home gardeners use, which is why kit manufacturers default to it.
📐 How do I calculate run time for drip emitter line in a raised bed?
Multiply the number of emitters on each line by the GPH rating per emitter to get the total flow per line per hour. Add up the flow across all lines in the bed to get the total GPH for that bed. Divide your target water volume by the total GPH to get run time. Both the emitter count and GPH rating are on the spec sheet of any dripline product or kit.
⚡ Do I need pressure-compensating emitters for a raised bed?
For a single bed with short line lengths under 15 feet, standard non-compensating emitters usually perform consistently enough. If you have multiple beds in series on a shared mainline, longer runs, or any elevation difference between the water source and the beds, pressure-compensating emitters are worth the modest premium. They prevent the flow drop-off that shows up as dry spots at the far end of longer distribution lines.
🔆 How long does drip emitter line last in a raised bed?
Quality emitter dripline from established irrigation manufacturers is typically rated for five or more seasons with basic maintenance: a filter upstream, an end-of-season flush, and mulch covering the line during the growing season to reduce UV exposure. Budget unbranded line without UV inhibitors in the compound can start cracking after a single season of direct sun exposure, particularly in high UV climates or uncovered beds.
🥦 What emitter spacing works best for a raised bed vegetable garden?
Dense plantings like lettuce, basil, or spinach benefit from 6-inch spacing. Wider-spaced crops like tomatoes, peppers, or squash work well with 9 or 12-inch spacing. The goal is to position emitters close enough to root zones that the soil between them stays adequately moist without running the system long enough to waterlog the rest of the bed. Match spacing to plant density, not to the maximum spacing the product offers.