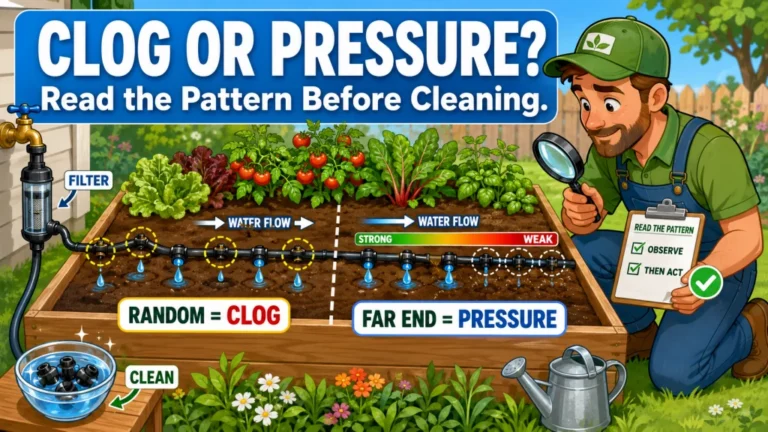
Drip irrigation dry spots in a raised bed can show up even when every emitter is clean and the pressure checks out fine, because the problem usually isn’t the equipment, it’s the layout. This guide covers four specific causes behind raised bed drip irrigation uneven coverage: emitters lined up at the same spot on every line, line spacing that doesn’t match the soil type, driplines sitting too close to the bed edge, and a hydrophobic soil surface that won’t let water spread. You’ll also get a simple probe test that confirms whether you’re actually dealing with a coverage gap before you touch anything. None of the fixes here require tearing out and reinstalling the system.

Why a Working System Can Still Leave Drip Irrigation Dry Spots in a Raised Bed
A drip system with clean emitters and correct pressure can still leave half a raised bed consistently dry if the driplines were laid without accounting for how water actually moves sideways through that soil. Dry spots from drip irrigation in a raised bed usually have nothing to do with a broken system, they trace back to where the lines sit and how far water spreads from each emitter once it hits the ground.
This isn’t about clogged emitters cutting off flow or pressure problems weakening output, both of those create their own patterns and get covered separately under raised bed drip irrigation troubleshooting. This is about a system that’s running exactly as designed and still creating coverage gaps, because the layout doesn’t match the soil it’s sitting in.
Confirming It’s a Coverage Gap Before You Touch the Layout
Before moving any driplines, run a quick probe test to confirm what you’re actually dealing with. Right after a normal watering cycle ends, push a screwdriver into the soil at the dry spot and at a nearby area that stays consistently well-watered, then compare how deep the moisture goes in each.
- If the dry area shows moisture at the surface but is dry by 2 inches down, while the well-watered area stays moist down to 4 inches, the lateral spread isn’t reaching that spot
- If both areas feel about the same at 2 inches but the dry area dries out faster over the following day, the issue is more likely soil composition than line placement
- If the dry spot stays dry at the surface immediately after the cycle, check the emitter sitting closest to it before assuming a layout problem, that pattern usually means something else is going on with that specific emitter
If the test shows normal moisture in well-watered areas but shallow moisture in specific gaps, the four causes below cover the most common layout reasons. If instead an emitter near the dry spot shows no flow at all, that’s a different issue covered separately, and worth checking before assuming a coverage problem.
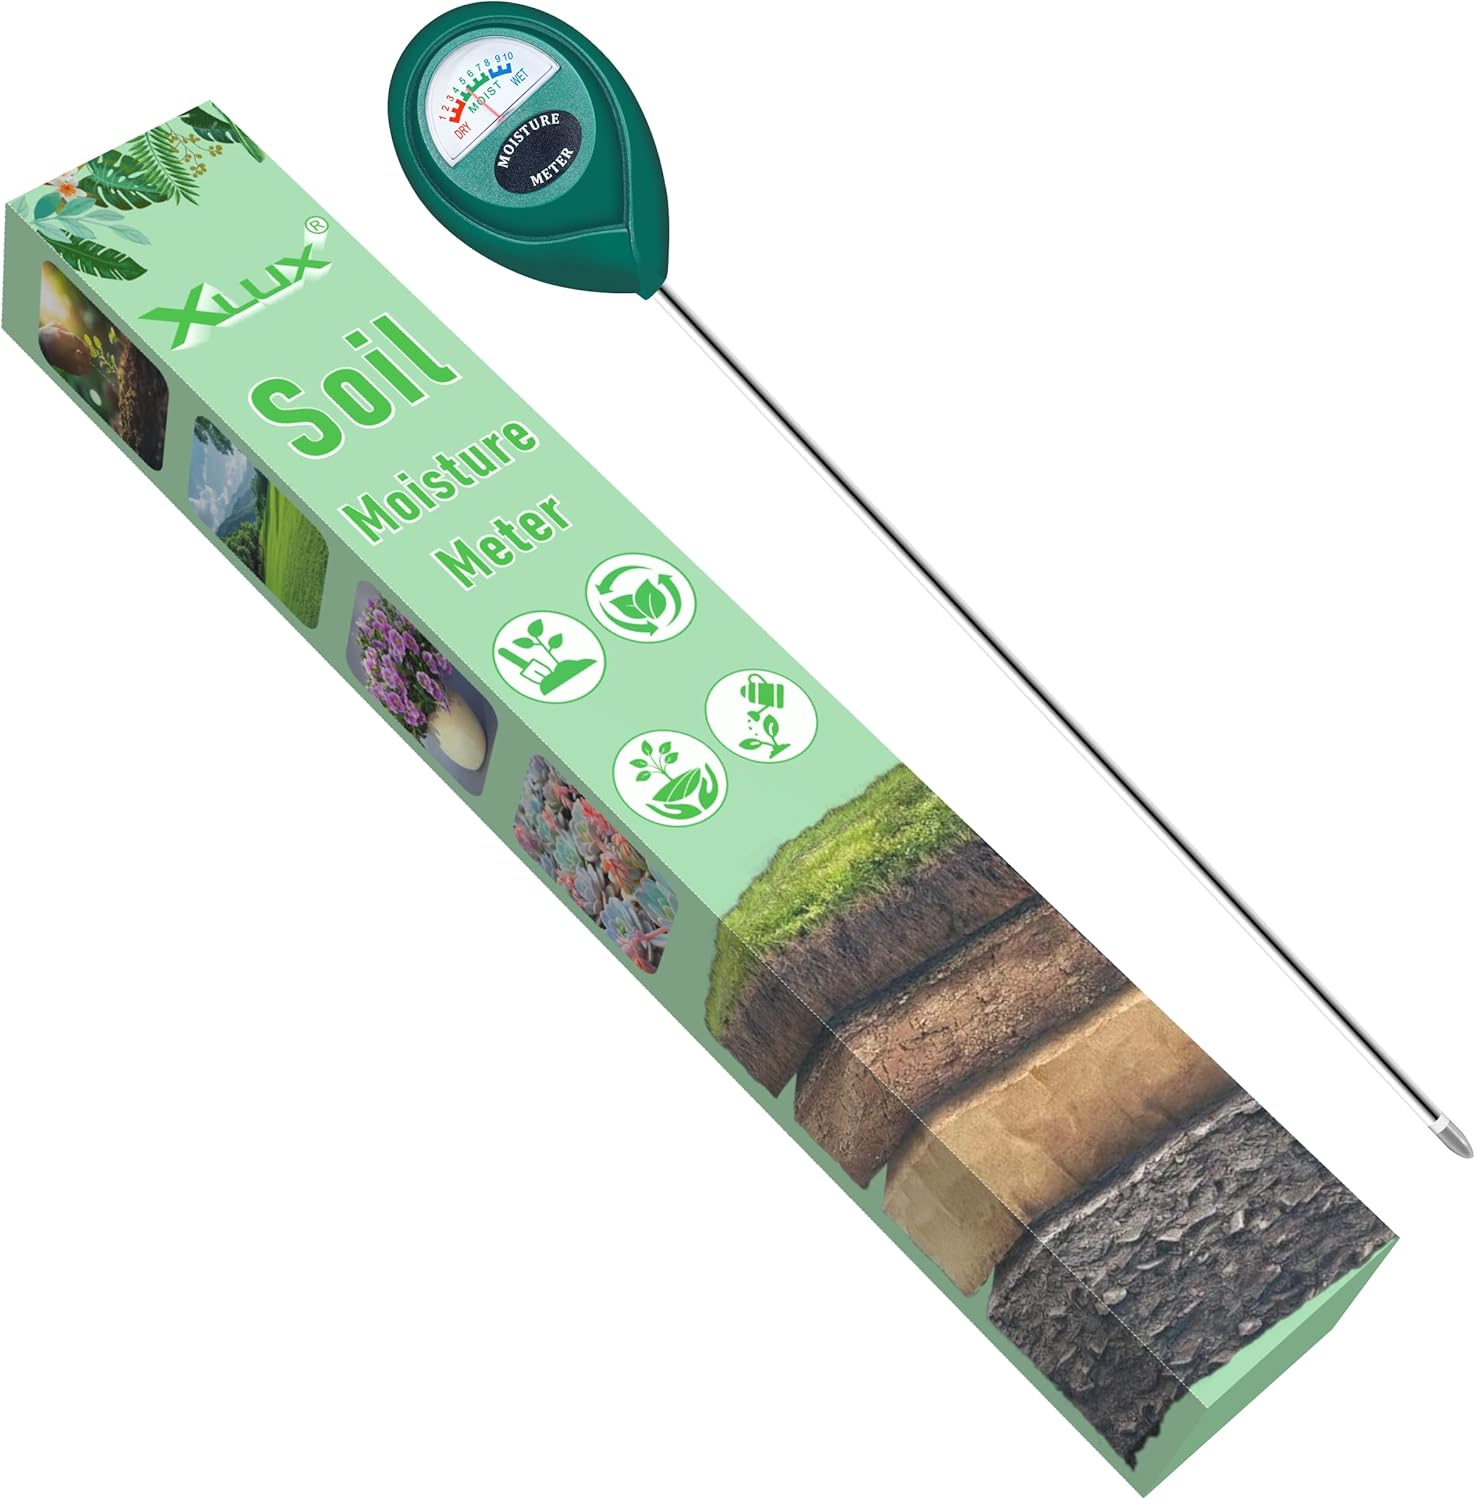
This moisture meter measures soil conditions deep inside pots and gardens with a probe 5.5 inches longer than standard styles, ideal for larger or deeper containers. Simply insert it into the soil for an immediate reading on the large, easy-to-read dial, which shows three zones across ten scales. Its single probe design causes less root disturbance than double or multiple probe meters. For best results, avoid testing hard soil or liquids, and remove the probe within 5 minutes to prevent corrosion of the metal tip.
Check On AmazonIf you click this link and buy, we earn a commission at no additional cost to you.
Cause 1: Emitters Lined Up at the Same Position on Every Line
When three parallel driplines each have emitters placed at identical positions along the bed, the soil between those lines never gets a direct hit from any emitter and depends entirely on water spreading sideways to reach it. In sandy or perlite-heavy mixes, that sideways spread is minimal, so the strip of soil sitting exactly between emitter positions stays dry no matter how long the system runs.
This staggered pattern means every strip of soil across the bed width ends up within range of at least one emitter, instead of leaving a dry seam running the full length of the bed between two lines.
Cause 2: Line Spacing That Doesn’t Match the Soil Type
A 12-inch gap between driplines works fine in dense loam, where water spreads sideways easily enough to close the gap between lines. The same 12-inch spacing in a sandy mix can leave a dry strip roughly 6 inches wide right down the middle, because sandy soil drains down faster than it spreads sideways.
| Soil Type | Workable Line Spacing | What Happens If Spacing Is Too Wide |
|---|---|---|
| Dense loam or clay-heavy mix | Up to about 12 inches between lines | Minimal dry strips, lateral spread closes most of the gap |
| Standard raised bed mix | About 8 to 10 inches between lines | Narrow dry seams that often go unnoticed until plants fill in |
| Sandy or perlite-heavy mix | About 6 to 8 inches between lines | Dry strips up to 6 inches wide between lines |
If the bed has room and you have leftover dripline, adding a fourth line between the existing ones is the most direct fix for a sandy mix that’s spaced too wide. If there isn’t enough dripline on hand to add a full extra line, reducing the emitter spacing along the existing lines instead gets more water into that same strip without adding another full line.

This 100-foot roll of quarter-inch dripline comes with half-gallon-per-hour emitters pre-installed every 6 inches, eliminating the need to purchase or install separate drippers. The tight emitter spacing makes it well suited for row crops, raised beds, and container gardens, with a maximum recommended run length of 19 feet per line. More durable than drip tape or soaker hose, it can even be buried for subsurface use. The kit includes 5 barbed quarter-inch couplings and 10 goof plugs to get you started.
Check On AmazonIf you click this link and buy, we earn a commission at no additional cost to you.
Cause 3: Driplines Sitting Too Close to the Bed Edge
Emitters placed within about 4 inches of the frame wall end up watering the wood and the soil right against it, while the center of the bed, where most of the root mass actually sits, gets less than its share. In a typical raised bed, the effective root zone for most vegetables and herbs falls within the inner 70 to 80 percent of the bed width, not the outer edge strip.
A 4-foot-wide bed with driplines running 3 inches from each frame wall is effectively watering two narrow strips of mostly empty soil while the middle third runs drier than either edge. Repositioning those lines a few inches toward the center, even without adding any new tubing, puts the water where the roots actually are instead of along the frame.
Cause 4: A Hydrophobic Soil Surface That Won’t Let Water Spread
A dry, compacted soil surface with a lot of organic matter can turn water-repellent over time, especially after going through a dry stretch. Instead of soaking in and spreading, water from the emitter ponds on top of that surface and barely moves sideways at all, which can look exactly like a coverage gap even though the line and emitter spacing are fine.
Pro Tips: Spread a thin layer of vermiculite or compost over the affected surface, or break up the crust with a hand fork before the next irrigation cycle. Either one gives water a path into the soil instead of letting it sit on top and run off sideways toward whatever spot happens to be lower.
Warning: Go light with the fork around established plants. Aerating a few inches deep near the surface is usually enough, digging deep enough to disturb root systems can do more harm than the dry patch you’re trying to fix.
Field Note: I checked a bed where the center stayed dry every single week despite even line spacing and properly staggered emitters. The surface looked dry and almost crusted, and water from the emitter was pooling in a small ring instead of spreading. A quick pass with a hand fork and a layer of compost on top fixed it within the next two cycles, no layout changes needed at all.

This coarse-grade vermiculite improves soil moisture retention, aeration, and drainage while gradually releasing trapped nutrients to plant roots over time. Sterile, clean, and odorless, it mixes easily with potting soil, coco coir, perlite, compost, and seed starting mixes for both indoor and outdoor use. Suitable for a wide range of vegetables, flowers, and fruits, and reduces the need for frequent watering and fertilizer applications.
Check On AmazonIf you click this link and buy, we earn a commission at no additional cost to you.
How to Check Whether the Fix Worked After One Watering Cycle
Once you’ve staggered emitters, adjusted spacing, repositioned a line, or treated a hydrophobic surface, don’t wait a full week to find out if it worked. Run one normal watering cycle, then go back to the exact same two spots you probed earlier: the original dry spot and the area that was already watering well.
Probe both spots again right after the cycle ends, and check surface moisture along with depth at 2 inches and 4 inches. If the former dry spot now matches the well-watered area at those same depths, the fix held. If it’s improved but still lagging behind by an inch or so at depth, give it one more cycle before changing anything else, some soil needs a cycle or two to fully wet up after sitting dry. Checking again the following morning also helps confirm the moisture is holding overnight instead of drying out faster than the rest of the bed.

This battery-powered hose timer converts any standard faucet into an automatic single-zone watering system with programmable schedules and adjustable watering durations. The clear LCD display makes programming straightforward, and a built-in rain delay feature pauses irrigation automatically during wet weather. Designed for outdoor durability and water-resistant construction, it backs its reliability with a six-year limited warranty.
Check On AmazonIf you click this link and buy, we earn a commission at no additional cost to you.
Final Thoughts: Dry Spots Are Usually a Layout Problem, Not a Broken System
Raised bed dry spots from irrigation almost always trace back to one of these four causes once clogging and pressure are ruled out: emitter alignment, line spacing, edge placement, or a soil surface that’s stopped absorbing water the way it should. The probe test tells you which one you’re dealing with before you move a single line, which saves you from changing the wrong thing. If you’re still working through other parts of the setup, the broader raised bed drip irrigation setup tips guide covers the rest of those decisions, and if a specific emitter near the dry spot shows no flow at all, that’s worth checking against drip irrigation emitter clogging in a raised bed before assuming the layout is at fault.

This kit includes everything needed to water a raised bed up to 4 by 8 feet, with professional-grade components built for repeated seasonal use. It features 35 feet of emitter tubing with 70 built-in, pressure-compensating emitters spaced every 6 inches for even watering near the roots, plus 25 feet of easy-to-handle 1/4 inch distribution tubing. This low-volume design can save up to 80% on water while supporting healthier plants and better yields. Installation is straightforward thanks to an illustrated manual covering multiple layout options, and the system can be automated with a compatible Rain Bird hose-end timer sold separately.
Check On AmazonIf you click this link and buy, we earn a commission at no additional cost to you.
FAQs
🌱 Are raised bed dry spots from irrigation always a sign of a broken emitter?
No. A clean, working emitter can still leave a dry spot if the line spacing, emitter alignment, or edge placement doesn’t match the soil type. Probe both the dry area and a well-watered area to compare before assuming a part has failed.
📏 How far apart should drip lines be in a raised bed to avoid dry strips?
It depends on soil type. Dense loam can handle up to about 12 inches between lines, while sandy or perlite-heavy mixes usually need 6 to 8 inches to avoid a dry strip down the middle.
🧭 Should drip lines run close to the edge of a raised bed?
Not closer than about 4 inches from the frame wall. Lines that close mostly water the frame and the soil right against it instead of the root zone in the center of the bed.
💧 Why does water pool on top of the soil instead of spreading at the emitter?
A compacted, dry, organic-rich surface can become water-repellent and stop absorbing water normally. Breaking up the crust with a hand fork or adding a thin layer of compost or vermiculite usually restores normal absorption.
🔧 How do I tell a dry spot caused by layout apart from one caused by a clogged emitter?
A layout-caused dry spot usually shows surface moisture after a cycle but dries out faster below the surface. A clogged emitter typically shows no moisture at the surface right next to it at all, even immediately after the system runs.