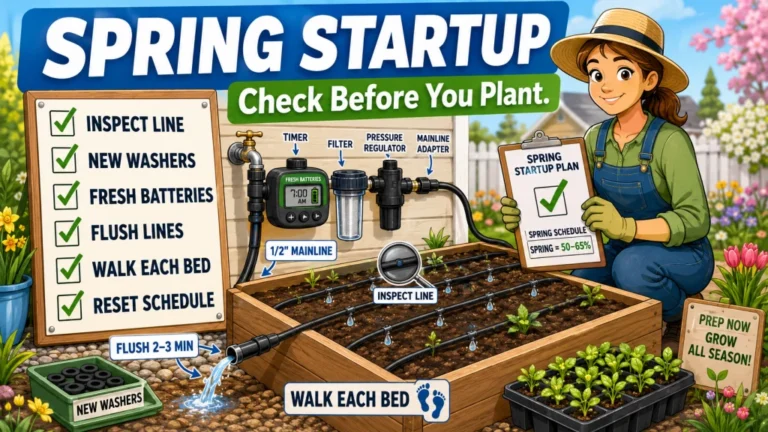
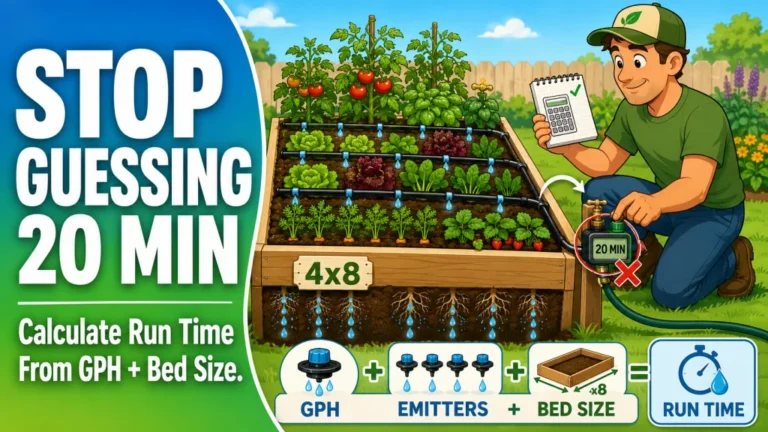
A timer running on schedule tells you the system turns on. It does not tell you whether water is reaching your plant roots at the right depth, holding in the soil long enough to matter, or actually leaving every emitter at the flow rate you expect. Three field tests cover that gap: the screwdriver depth check, a time-delayed soil probe, and watching the emitters during a live cycle. Each one gives you information the timer cannot, and together they tell you whether your raised bed drip setup is delivering or just running.

What the Timer Confirms and What It Does Not
Most raised bed drip setups get tested exactly once: the day they are installed. The gardener runs a cycle, watches water come out of the emitters, and considers it verified. After that, the timer runs on its own and the assumption is that if the schedule is set correctly, the plants are being watered correctly. That assumption holds right up until a plant starts wilting or a section of the bed goes dry, at which point it is hard to know whether the problem is the schedule, the emitters, the pressure, or the layout.
The timer confirms one thing: the system opens and closes on the interval you programmed. It does not confirm how much water is leaving each emitter, how deep that water is penetrating the soil, or whether the moisture is being retained long enough to reach roots between cycles. Those are the things that actually determine whether your plants are getting what they need, and none of them show up on the timer display. That is what these three tests are for. For context on how the broader watering approach fits together, the raised bed drip irrigation tips overview covers the full picture.
Test 1: The Screwdriver Check for Water Depth
Run a full watering cycle, then wait 30 minutes. Take a flat-blade screwdriver or a wooden chopstick and push it straight down into the soil at the center of the raised bed, as far from the edge as you can get, directly in the root zone of one of your plants. Push slowly and pay attention to resistance.
If the screwdriver meets dry, compacted resistance before it reaches 4 inches, the system is not delivering water deep enough to reach the root zone of most vegetables. The surface may be wet, the emitters may look fine, but the water is not penetrating. If the screwdriver slides through consistently moist soil from the surface down to 6 inches with little resistance, coverage at depth is adequate. The test sounds almost too simple, but it catches something that no amount of timer-watching can reveal: whether the water is actually getting where roots are.
Field Note: The most common result I see when running this test on a new setup is a wet top inch and dry soil below 2 to 3 inches. The emitters were working, the schedule was running, but the run time was too short to push water past the dry crust of the bed. The gardener had been running 10-minute cycles twice a day and the root zone was bone dry. One longer cycle replaced the two short ones and the screwdriver slid through on the next check.
The screwdriver test is most useful after the first few cycles on a new schedule, any time run time or frequency changes, and after replanting when root depth shifts. It is a 60-second check that takes the guessing out of whether the timing adjustment you made actually worked at the root level.
Test 2: The Time-Delayed Probe for Moisture Retention
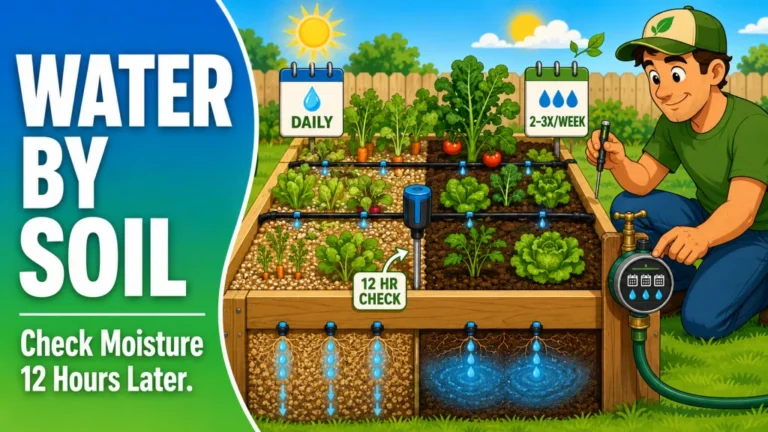
The screwdriver test runs 30 minutes after a cycle and checks penetration depth. This test runs 12 hours after the last cycle and checks something different: whether the soil is holding adequate moisture between waterings. These are two separate questions and the answers do not always match.
Twelve hours after the last watering cycle, push a finger or thin probe 2 to 3 inches into the soil near the root zone of a plant. The soil at that depth should feel moist but not wet: cool, slightly resistant, and clinging lightly if you pinch a bit between your fingers. If the soil at 2 to 3 inches is dry and loose 12 hours after a watering cycle, the system is underwatering, either from short run times, widely spaced cycles, or emitters that are not delivering enough flow per plant. If the soil feels cold, waterlogged, or pulls apart in a heavy wet clump, the bed is being overwatered.
The system is underdelivering. The soil dried out faster than the next cycle can replenish it. Check run time, emitter flow rate, and cycle frequency before assuming the schedule is right.
The system is in the right range. The root zone is holding moisture between cycles. Continue monitoring as weather and plant size change.
Raised bed soil mix matters here. A loose, sandy blend drains significantly faster than a compost-heavy mix, which means 12 hours can bring very different results in two beds with the same timer settings. If one bed consistently tests dry at 12 hours and another does not, the difference may be the soil, not the emitters. The test tells you what is happening; figuring out why requires looking at all the variables together.
Note: Do not run this test within an hour of a watering cycle. The surface reading and the root zone reading will both be temporarily elevated and the result will mislead you into thinking retention is better than it is. Wait the full 12 hours to get an honest read.
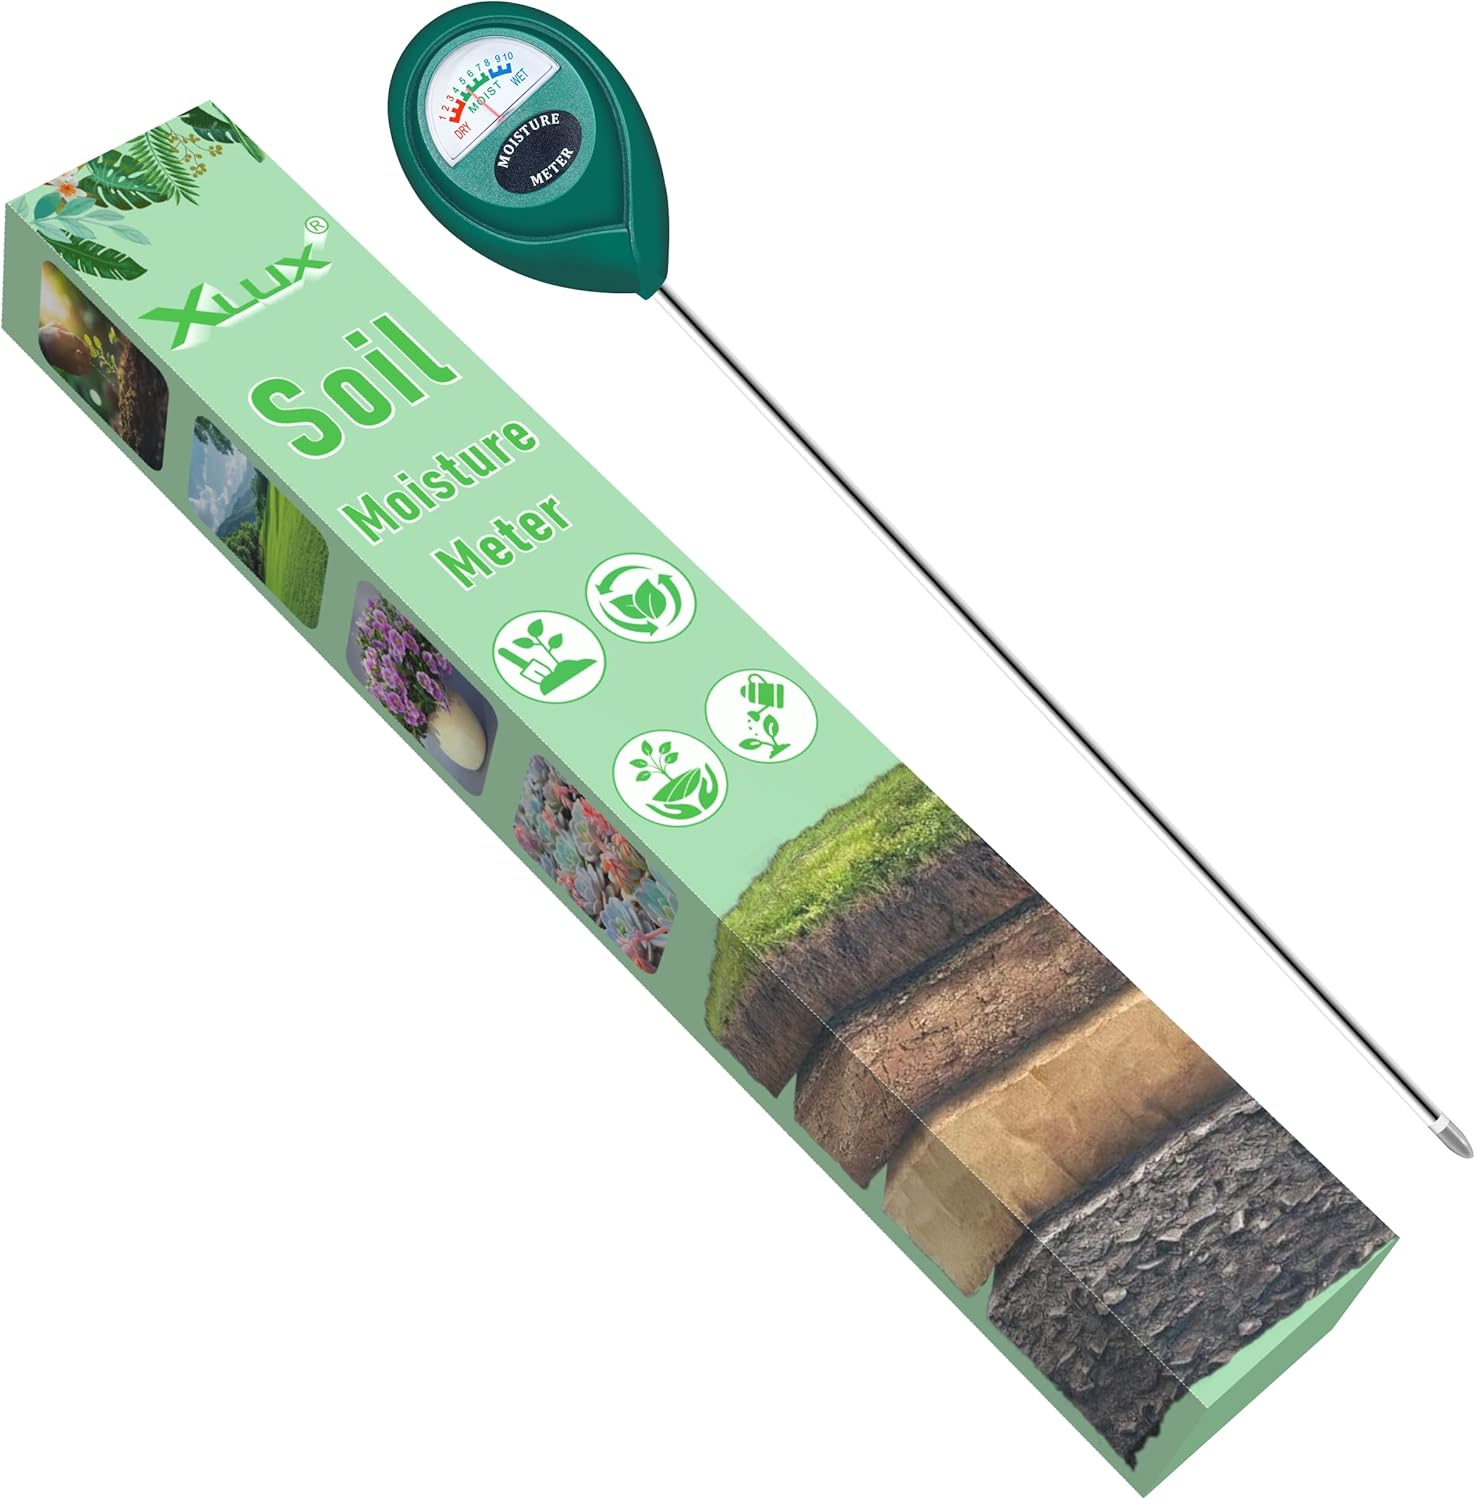
This moisture meter measures soil conditions deep inside pots and gardens with a probe 5.5 inches longer than standard styles, ideal for larger or deeper containers. Simply insert it into the soil for an immediate reading on the large, easy-to-read dial, which shows three zones across ten scales. Its single probe design causes less root disturbance than double or multiple probe meters. For best results, avoid testing hard soil or liquids, and remove the probe within 5 minutes to prevent corrosion of the metal tip.
Check On AmazonIf you click this link and buy, we earn a commission at no additional cost to you.
Test 3: Watching the Emitters During a Live Cycle
This one requires being outside while the system runs, which is easy to skip once the novelty of a new drip setup wears off. It is worth doing at least once a month and whenever you suspect something is off. The goal is to look at each emitter individually and confirm it is behaving the way it should.
A properly functioning drip emitter should be dripping at a slow, consistent rate. Not misting, not spraying, not pooling at the surface, not dry. Each of those failure modes tells you something different:
- Misting or spraying: The water pressure at that emitter is too high. This usually means a missing or undersized pressure regulator, or one that has failed. An emitter rated for 15 to 25 PSI that is running at 50 to 60 PSI from a standard hose bib will mist rather than drip, and it will eventually fail at the fitting.
- Completely dry: The emitter is clogged or has pulled free from the tubing. Check whether the stake is still seated, then remove the emitter and rinse or replace it. A filter upstream helps prevent this from happening as frequently.
- Dripping slower than nearby emitters: Pressure is dropping along the line length. Emitters near the start of the run should not be noticeably wetter than emitters at the far end of the same line. If they are, the mainline run is too long, or the tubing diameter is undersized for the number of emitters on it.
- Pooling at the surface instead of soaking in: The emitter flow rate is higher than the soil can absorb. This is more common with 1 to 2 GPH emitters in compact or amended soil than with 0.5 GPH emitters, and it means water is running off laterally rather than moving down to the root zone.
The emitter check is the only test that catches pressure issues before they damage fittings or create uneven coverage. Soil tests tell you what happened. Watching the emitters tells you why.
Field Note: I have seen setups where the emitters at the near end of a 50-foot mainline run were delivering nearly twice the flow of the emitters at the far end. The gardener had no idea because the beds looked similar from a distance and the timer was running normally. The far-bed plants were consistently underperforming. Shortening the mainline run and adding a second connection point from the hose bib evened out the pressure and the coverage.

This inline filter protects downstream drip components from debris using a pre-installed 200 mesh stainless steel filter element rated to catch particles as small as 75 microns. The glass-filled polypropylene body handles up to 150 psi and fits any standard three-quarter inch irrigation valve via male pipe thread connections on both ends. The cap unthreads quickly for easy filter cleaning without tools.
Check On AmazonIf you click this link and buy, we earn a commission at no additional cost to you.
Reading Plant Symptoms as a Verification Layer
The three tests above are proactive: you run them before the plants show visible stress. Plant symptoms are a reactive layer, useful for cross-referencing when something is already wrong. The challenge is that underwatering and overwatering can produce symptoms that look similar at first glance, and both can be confused with heat stress, pest damage, or nutrient deficiency. Combining what the plant looks like with what the soil probe tells you is the fastest way to narrow it down.
| What You See | Likely Cause | Confirm With |
|---|---|---|
| Wilting during the hottest part of the day, plant recovers by evening | Likely underwatering or heat stress at the root zone | Screwdriver test and 12-hour probe; if soil is dry below 3 inches, increase run time or frequency |
| Wilting with soil that feels wet or waterlogged | Overwatering; roots are struggling in saturated soil | 12-hour probe; if soil is cold and heavy 12 hours after a cycle, reduce frequency or run time |
| Yellowing on lower leaves, upper leaves still green | Overwatering or nutrient loss from waterlogged soil flushing nitrogen | 12-hour probe; check for consistently wet root zone between cycles |
| Brown, crispy leaf tips with dry soil at 2 to 3 inches | Underwatering; moisture not reaching root zone between cycles | Screwdriver test 30 minutes after a cycle; check penetration depth and emitter flow |
| One section of the bed wilting while the rest looks fine | Clogged emitter, coverage gap, or pressure drop at far end of line | Emitter check during live cycle; look for dry emitters or flow inconsistency along the run |
Plant symptoms are worth tracking but should not be the only signal you rely on. By the time a tomato or pepper plant shows visible wilting from underwatering, the root zone has been dry for longer than it should have been. Running the three tests on a monthly or post-adjustment schedule catches problems before they show up on the leaves.

This pressure regulator maintains an optimal 25 PSI to keep drip lines and emitters running at consistent flow, with a 20 gallon per minute capacity to support larger systems. It connects to any 3/4 inch male threaded faucet, garden hose, or component for easy setup. Built from UV and chemical-resistant materials, it offers durable, reliable performance season after season, and pairs well with a compatible Rain Bird hose-end timer for automated watering.
Check On AmazonIf you click this link and buy, we earn a commission at no additional cost to you.
The Monthly Walk: Catching Problems Before Plants Show Them
Once the system is set up and the initial checks are done, the most useful habit is a brief walk of each bed while the system is actively running, at least once a month and after any significant weather change. This is different from checking in on the plants generally. The walk is specifically about observing the system behavior in real time, which is the only way to catch certain problems before they compound.
- Look at every emitter. Confirm each one is dripping, not misting, pooling, or dry. Flag any that look different from the others on the same line.
- Check every fitting and connection. Look for small puddles or wet spots at the base of connectors, barbed fittings, or where tubing enters the mainline. A slow drip from a fitting is easy to miss until it becomes a steady stream.
- Walk the full length of the mainline. Look for sections of tubing that have lifted off the bed surface, kinked, or been disturbed by digging. Kinked tubing restricts flow to everything downstream.
- Check for dry areas without coverage. If part of the bed looks drier at the surface than the rest, confirm there is an emitter placed near that section. Plants can shift as they grow, and a drip line that was well-placed at transplant may be a foot away from the root zone by midsummer.
- Listen for hissing. A hissing sound while the system runs usually means a high-pressure micro-leak at a fitting or a punctured section of tubing. These are easier to find and fix early.
The whole walk takes about five minutes per bed. For a setup running on a battery timer that you are not actively monitoring, this is the best substitute for being there every cycle.
Pro Tips: The best time to run this walk is during the first cycle of the day when pressure from the hose bib is at its most consistent. Evening cycles can run at slightly different pressure depending on neighborhood water demand, which can make emitter behavior look inconsistent when the system is actually fine.
Setting up the schedule is covered in detail in the guide on building a raised bed drip irrigation schedule. The tests here tell you whether that schedule is actually delivering what you set it for.

This multi-function kit connects 1/2 inch drip tubing to any 3/4 inch male threaded faucet or garden hose, helping ensure your drip irrigation system runs properly. It includes a backflow preventer, a 25 PSI pressure regulator, and a 150 mesh filter, along with a compression fitting that creates a leak-proof seal to 1/2 inch tubing. Built from UV and chemical-resistant materials for long-lasting durability, the kit can also be paired with a compatible Rain Bird hose-end timer for automated watering.
Check On AmazonIf you click this link and buy, we earn a commission at no additional cost to you.
Final Thoughts: Trust the Tests, Not the Timer
A drip system running on a well-designed schedule is a good start. What confirms it is actually working is the screwdriver in the root zone 30 minutes after a cycle, the probe reading 12 hours later, and a set of emitters that are dripping evenly when you watch them run. Those three checks together cover what no timer display can show you. They take less than 15 minutes combined and the information they give you is more useful than any amount of guessing based on how the plants look from a distance.
Run the screwdriver test whenever you adjust the schedule. Run the 12-hour probe when a plant looks off and you are not sure whether it is wet or dry. Walk the beds once a month while the system runs and look at every emitter. That routine catches most problems before they affect a crop, which is a much easier position to be in than diagnosing the source of a wilting bed in the middle of July.
FAQs
💧 How do I know if my drip irrigation is actually watering deeply enough?
Run a full watering cycle and wait 30 minutes. Push a flat screwdriver or wooden chopstick straight down into the soil at the center of the bed near the root zone. If it meets dry resistance before 4 inches, water is not penetrating deep enough. If it slides through moist soil to 6 inches without resistance, depth is adequate. This check should be the first thing you do after setting a new schedule or changing run time.
🌱 My plants are wilting even though the drip system is running. What should I check?
Wilting on a running system can come from underwatering, overwatering, or a clogged emitter near that plant. First, probe the soil 2 to 3 inches deep at the root zone 12 hours after the last cycle. Dry soil points to underwatering. Cold, waterlogged soil points to overwatering. Then run a live emitter check during the next cycle and confirm the emitter nearest that plant is dripping at a consistent rate, not dry or misting.
🔍 How often should I check if my raised bed drip system is working correctly?
Run the screwdriver depth check after every schedule adjustment and at least twice during the growing season. Do the 12-hour soil probe any time a plant shows stress signs you cannot explain. Walk the beds while the system runs at least once a month to check emitters, fittings, and coverage. More frequent checks are worth it in the first month after installation, after any replanting, and during heat events that push plants past normal stress thresholds.
⚠️ What does it mean if my drip emitters are misting instead of dripping?
Misting means the water pressure at that emitter is too high for the rated flow range. Most drip emitters are rated for 15 to 25 PSI. If the hose bib is running at 50 to 60 PSI without a pressure regulator between it and the drip line, emitters will mist instead of drip and fittings will start leaking over time. Check whether a pressure regulator is installed upstream of the system and whether it is matched to the system’s rated pressure range.
🌿 How do I tell the difference between overwatering and underwatering symptoms in a raised bed?
The fastest way is to check the soil, not just the plant. Wilting with dry soil below 2 inches points to underwatering. Wilting with wet, cold, heavy soil points to overwatering. Yellowing on lower leaves with consistently wet soil between cycles usually means overwatering or nutrient loss from waterlogged roots. Brown, crispy leaf tips with dry soil at depth typically mean underwatering. When in doubt, run the 12-hour probe before adjusting the schedule in either direction.
🔧 One end of my raised bed looks drier than the other. Is this a drip system problem?
Often, yes. The most common causes are a clogged emitter near the dry area, a coverage gap where no emitter is placed close enough to that section of the root zone, or a pressure drop along a long mainline run where emitters at the far end deliver less flow than emitters near the start. Run an emitter check during a live cycle and compare the drip rate at the dry end versus the wet end. If flow is uneven, check for clogs first, then look at mainline length and tubing diameter.