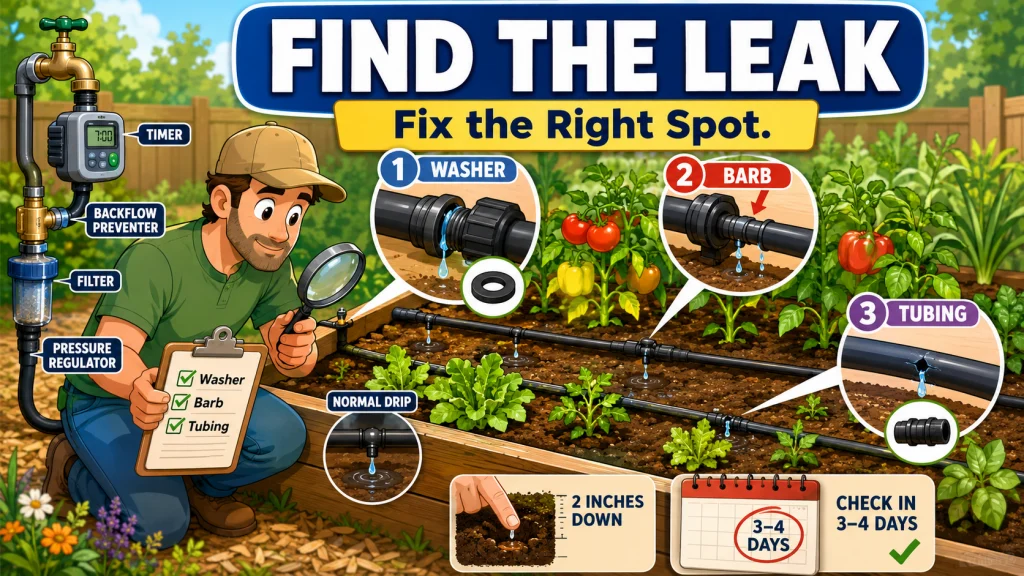
Drip irrigation leaking in a raised bed almost always comes from one of three places: a threaded fitting, a barbed connection, or the tubing body itself, and each one gets fixed a different way. This guide walks through what each leak location looks like, why it happens, and the specific repair for it, instead of guessing and replacing the wrong part. You’ll also see how to tell a normal wet spot under an emitter apart from an actual leak, and how to spot rodent damage before it spreads across the line. None of these fixes require tearing out the system. Most take a few minutes once you know where to look.
Why Most Raised Bed Drip Irrigation Leaks Have an Easy Fix Once You Find the Source
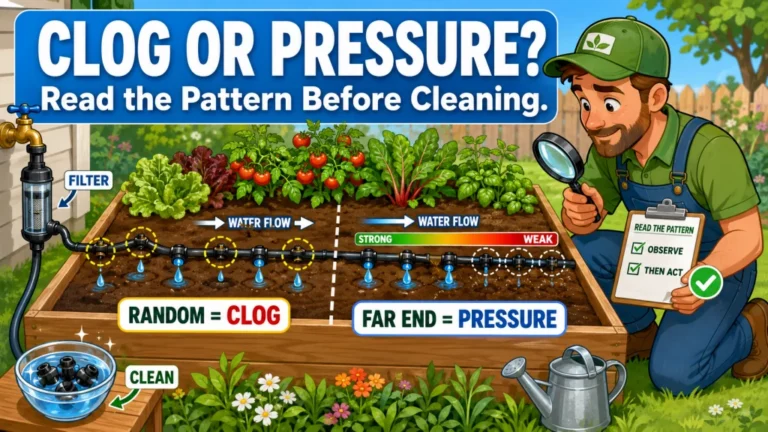
Drip irrigation leaking in a raised bed almost always comes from one of three places: a threaded fitting at the head assembly, a barbed connection where the dripline meets the mainline, or a crack or hole somewhere along the tubing itself. This isn’t about a clogged emitter cutting off flow or a pressure problem pushing water out where it shouldn’t. Those get covered separately under raised bed drip irrigation troubleshooting. This is about water showing up somewhere it shouldn’t while the rest of the system is otherwise running fine.
In my experience, the gardener who replaces the wrong part first usually swaps the whole fitting or buys new tubing before ever checking the actual point of failure. That costs time and money on a problem that, once you know where to look, takes about two minutes to spot and a few more to fix. The sections below cover what each leak location looks like and the specific repair for each one, because a fitting leak and a tubing crack don’t get fixed the same way.
The Three Places a Raised Bed Drip Leak Actually Starts
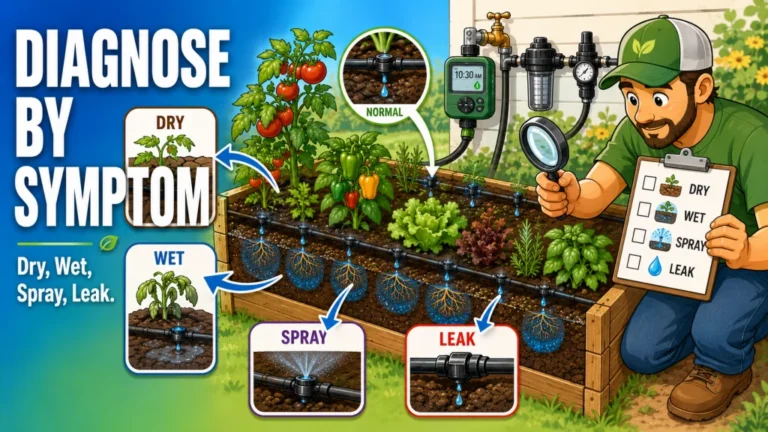
Before reaching for a tool, take two minutes to watch the system run and note exactly where the water is appearing. The location tells you almost everything about the cause, and a drip system leaking at fittings in a raised bed looks and behaves differently from a leak out in the tubing.
| Leak Location | What It Looks Like | Likely Cause |
|---|---|---|
| Threaded fitting | Water at the junction of the timer, backflow preventer, filter, or pressure regulator | A dried or missing rubber washer inside the threaded connection |
| Barbed connection | Water dripping from the point where 1/4-inch dripline meets 1/2-inch mainline or header during a run | The barb was never fully seated inside the tubing |
| Tubing body | A hole, crack, or several small punctures along the tubing itself | A tool puncture, a freeze crack, or rodent damage |
Each of these has a specific repair, and trying the fix for one on a different leak location usually just wastes a part. The next three sections walk through each one in order, starting with the most common.
Fixing a Leak at a Threaded Fitting
A raised bed drip irrigation fitting leak, where the timer connects to the backflow preventer, filter, or pressure regulator, is almost always a rubber washer problem. The washer inside the female threaded connection dries out and cracks over time, or sometimes goes missing entirely after a fitting gets taken apart for cleaning and never gets put back together with it.
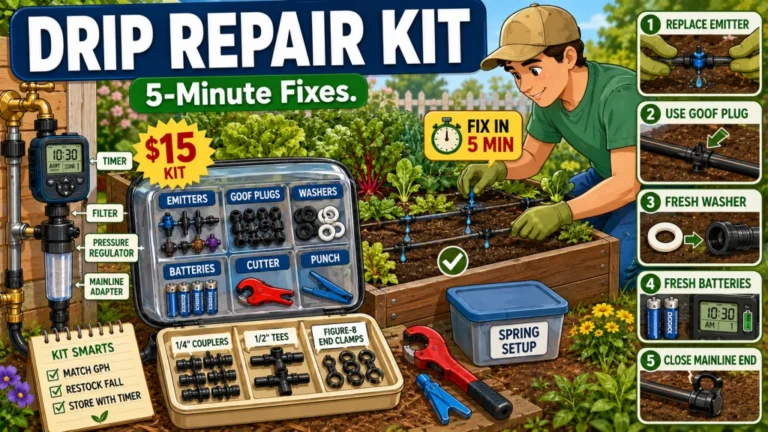
The fix is straightforward: remove the fitting, inspect the washer, and replace it with a new 3/4-inch rubber washer if it looks dry, flattened, or cracked. Treat this as routine maintenance rather than a one-time repair, since the rubber breaks down from sun exposure and seasonal temperature swings even on a fitting that’s never been touched.
Key point: Hand-tighten the fitting only. Over-tightening with a wrench or pliers can fracture the plastic threads. Once that happens, the leak is permanent and a new washer will not fix it.

These heavy-duty rubber washers fit all standard three-quarter inch garden hose fittings and measure 25mm outside diameter, 16mm inside diameter, and 3mm thick. Built to hold up in all weather conditions for reliable, leak-free hose connections.
Check On AmazonIf you click this link and buy, we earn a commission at no additional cost to you.
Fixing a Leak at a Barbed Connection
A drip irrigation connection leaking at the barb, where the smaller dripline meets the mainline or header, almost always comes down to insertion. If the tubing was cold or stiff when the barb went in, it may not have opened wide enough for the barb to seat completely, leaving a small gap where water escapes under pressure during a run.
Pull the connection apart and check the tubing end before reinserting anything. Soft, undamaged tubing usually just needs to go back on more firmly. Cracked or split tubing at the insertion point needs a fresh section instead.
Pro tip: Lay the tubing in direct sun for 5 to 10 minutes before reinserting the barb. Warm tubing softens enough to slide on fully, and you should hear a click or feel a clear change in resistance once the barb seats all the way.
If the tubing is cracked right at the insertion point, don’t try to reuse that end. Cut about 1 inch back from the crack and reinsert the barb onto fresh, undamaged tubing instead. Reinserting into already-split tubing just reopens the same leak within a few runs.
Fixing a Leak in the Tubing Body
A leak along the tubing itself, away from any fitting or barb, usually falls into one of three categories, and each one calls for a different fix instead of a blanket tubing replacement.
- A small hole at a punch point: push a goof plug into the hole to seal it without cutting the line
- A crack or clean cut: cut out the damaged section and rejoin both ends with a straight barbed coupler
- Multiple freeze cracks along a brittle stretch: replace that section of tubing rather than patching each crack individually
Trying to patch a tubing section that’s gone brittle from age or repeated freezing usually just produces a new crack a few inches away within the same season. If you’re finding more than one crack on the same run of tubing, replacing that stretch saves more time than chasing each leak as it shows up.

This pack of 30 UV and chemical-resistant black plastic plugs seals unwanted holes in half-inch drip tubing or caps the ends of quarter-inch tubing runs. Compatible with the Rain Bird ET/1PK25S emitter tool for easy installation and removal.
Check On AmazonIf you click this link and buy, we earn a commission at no additional cost to you.
Telling a Normal Wet Spot Apart From an Actual Leak
Water sitting on the soil surface directly under an emitter while the system is running is normal and expected. That’s the emitter doing its job. The confusion starts when that wet spot sticks around well after the system has shut off.
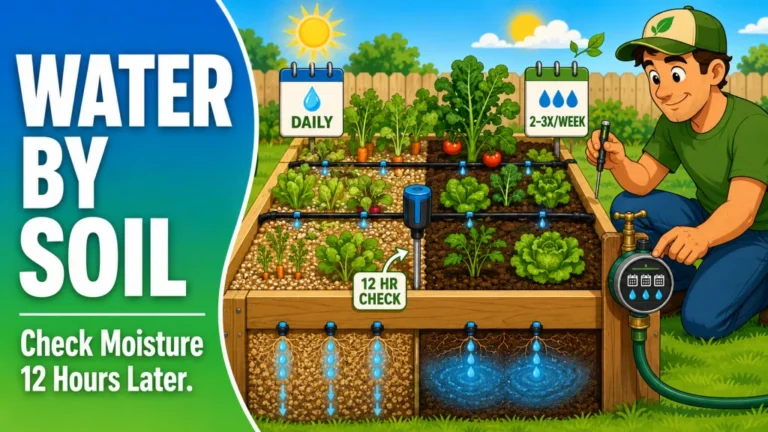
If a wet spot is still soaked 2 to 4 hours after the system shuts off and nothing along the line is actually dripping or spraying, the issue usually isn’t a leak at all. That pattern points toward overwatering with drip irrigation in a raised bed or a drainage problem in the bed itself, neither of which gets fixed by replacing tubing or fittings.
When the Damage Is Rodent Chewing, Not a Failed Fitting
Rodent damage looks different from a tool puncture or a freeze crack. Gnawed holes in 1/2-inch mainline or 1/4-inch dripline usually show up as several small punctures grouped together in the same section of tubing, rather than one clean hole or crack.
The fix is the same as for any damaged tubing section: cut out the chewed length and rejoin or replace it. Prevention matters more here, since a line that got chewed once tends to get found again. Burying the mainline or covering exposed runs with a layer of gravel removes the easy access that draws rodents to the tubing in the first place.
Field note: I traced one leak to what looked like five separate pinholes within an 8-inch stretch of 1/2-inch mainline, all on the side facing a fence line. That grouped pattern is the giveaway. A single puncture from a garden tool is one hole in one spot, not a row of them.

This portable kit packs 100 feet of self-dispensing quarter-inch blank distribution tubing alongside 40 pressure-compensating emitters in three flow rates, 0.5, 1.0, and 2.0 gallons per hour, plus 20 barbed couplers, 20 barbed tees, 10 tubing stakes with bug caps, and 10 tubing plugs. Rain Bird's patented emitter installation and removal tool is included, making it easy to punch in or swap out emitters and quarter-inch fittings. Everything stores in a compact plastic pouch with individually organized bags.
Check On AmazonIf you click this link and buy, we earn a commission at no additional cost to you.
Final Thoughts: Match the Fix to the Location, Not the Other Way Around
Almost every raised bed drip irrigation leak traces back to one of three spots, and the fix is fast once you know which one you’re dealing with. Watch the system run, find the exact location, and treat the washer, the barb, or the tubing itself as the actual problem instead of replacing parts at random. If you’re still working through other parts of the setup, the broader raised bed drip irrigation setup tips guide covers the rest of those decisions.

This pack of four barbed couplings joins two sections of half-inch or five-eighths inch drip irrigation tubing with a secure, leak-proof connection. Made from UV and chemical-resistant materials for reliable long-term outdoor use.
Check On AmazonIf you click this link and buy, we earn a commission at no additional cost to you.
FAQs
💧 Why is my raised bed drip irrigation leaking at a fitting?
Almost always a dried, cracked, or missing rubber washer inside the threaded connection. Remove the fitting, check the washer, and replace it rather than tightening the fitting harder.
🔧 Why does my drip line keep leaking at the connection where it meets the mainline?
The barb usually wasn’t fully seated when it was inserted, often because the tubing was cold and stiff. Warm the tubing in the sun for a few minutes, then push the barb in until it seats completely.
🐭 How do I know if a leak is rodent damage and not just a tool puncture?
Rodent damage usually shows up as several small punctures grouped together in one section of tubing. A single clean hole in one spot is more likely a tool puncture.
🧰 Can I patch a crack in drip tubing instead of replacing the section?
For a single clean crack or cut, cutting out the damaged piece and rejoining with a barbed coupler works well. If you’re finding multiple cracks on the same stretch, replace that section instead of patching each one.
🌱 Is a wet spot under an emitter always a sign of a leak?
No. Wet soil directly under an emitter while the system runs is normal. It’s only a concern if that spot is still saturated 2 to 4 hours after the system shuts off, which usually points to overwatering or drainage instead of a leak.
❄️ Should I check for tubing cracks at a specific time of year?
Spring is the most useful time, since freeze damage from winter often doesn’t show up as a leak until the system runs under full pressure again. Check fittings and tubing before the first heavy watering season.